

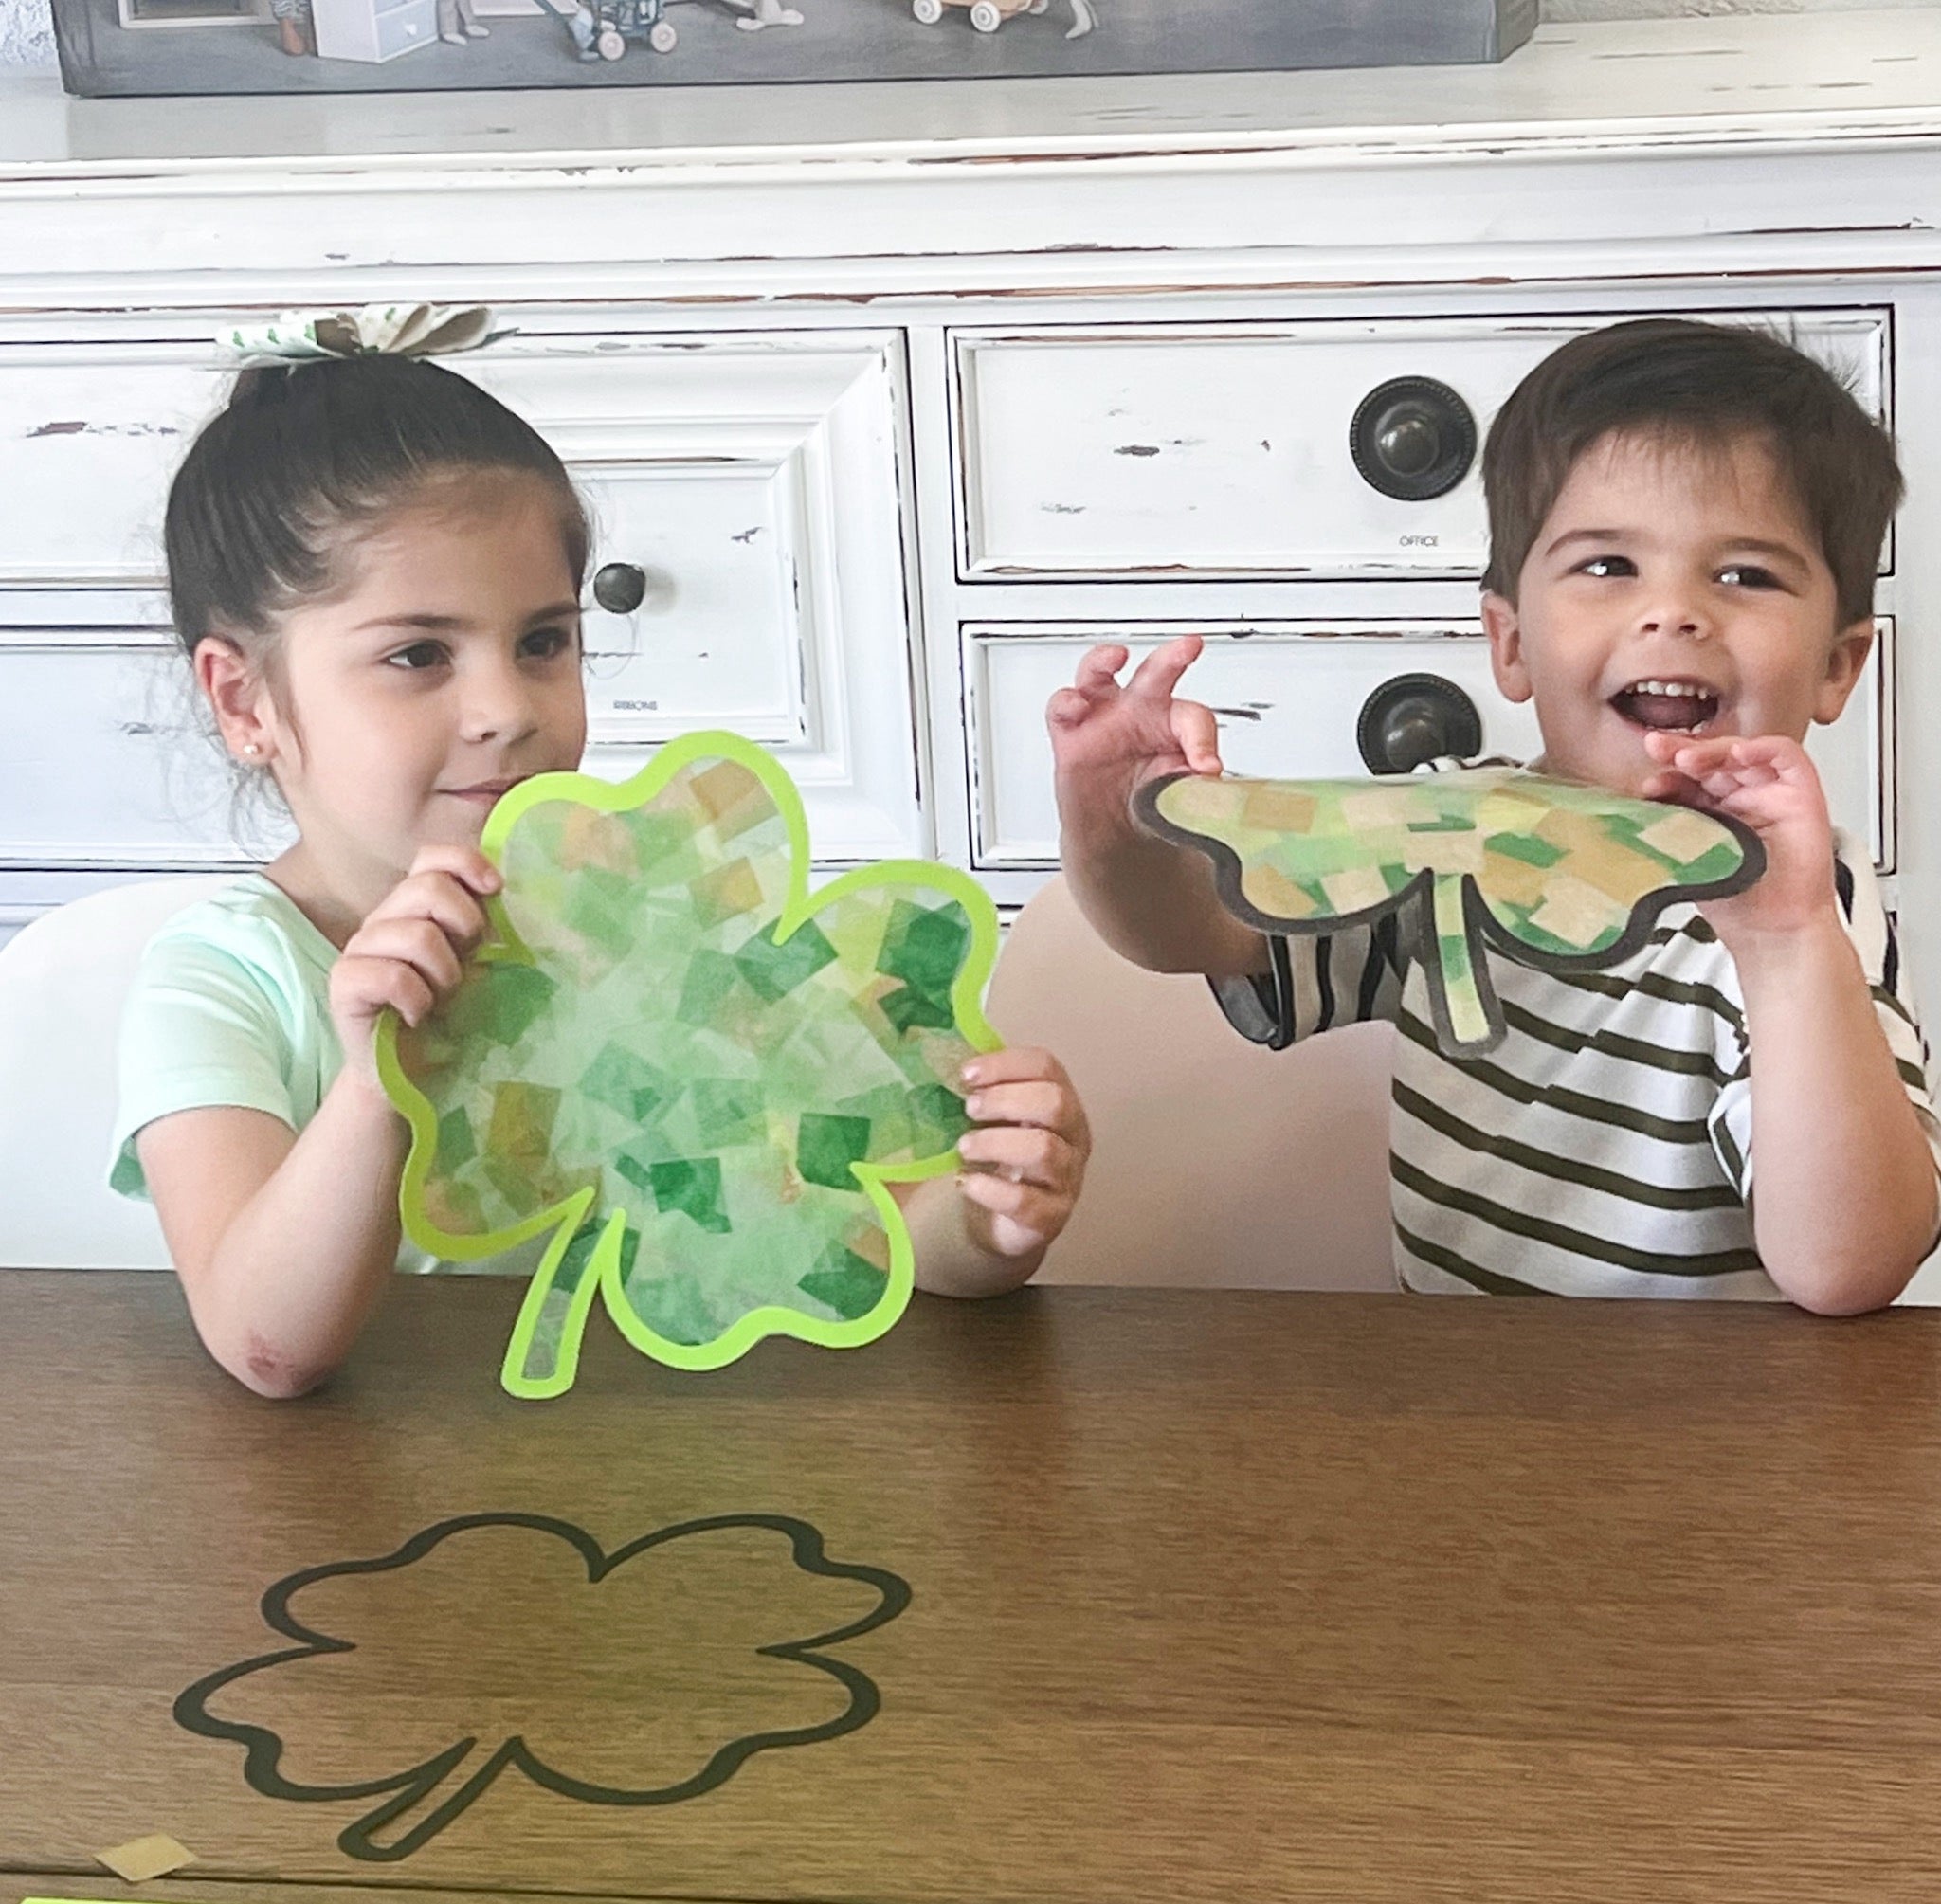
We love any excuse to plan an activity or craft for the kids, especially when they are easy and little clean up involved. Get your little ones in the festive mood for St. Patrick's Day and make these lucky clover suncatchers today!

This activity requires only a few materials, some of which you may already have at home. We used tissue paper in different shades of green and gold, cardstock paper, and contact/laminating paper. You can use the lucky clover template linked here, draw your own, or a Cricut machine to cut out. We used a Cricut to cut out our lucky clovers. Once we had our lucky clovers cut out, we placed them onto contact paper, and cut around the clover. This made it a little easier to work with since it left less space and the contact paper is extra sticky.

We cut sheets of tissue paper into small squares and had them ready for our little ones to begin placing inside their lucky clovers.


You can have your little ones create their lucky clovers using shades of green or any color tissue papers they want to make each one extra special for them! Once they filled the entire area, we cut out a square of contact paper to cover entire clover and then placed directly on top. Next, we cut around the shape of the clover and your suncatchers are ready to be displayed!
When placed near a bright light your sun catcher will disperse that light into a colorful rainbow.


Lucky Clover Suncatchers - What You'll Need
- Tissue Paper in different colors (we used different shades of green and gold - green tissue paper linked here and gold linked here)
- Lucky Clover template (linked here)
- Cardstock paper (linked here)
- Contact or laminating paper (we used contact paper linked here)
- Scissors
Steps
1. Print or draw your own lucky clover template. Cut it out and trace onto your cardstock paper. We used black and two shades of green for ours. We used a Cricut to cut ours out but if you will be cutting by hand, bend the center a bit and cut the center.
2. Cut out squares of tissue paper and move to the side.
3. Cut out a square of Contact paper, be sure your lucky clover will fit inside and place onto the sticky side.
4. Begin placing your tissue paper squares onto the Contact paper and layer. It is OK, if you place some outside of your clover, it will be trimmed later.
5. Once you have filled the entire lucky clover with tissue paper squares, cut another piece of Contact paper, place on top of your clover and press down.
6. Trim around your lucky clover.
7. Place on your window and enjoy!
Have fun and share with us! #LOCreativeCircle #mylittleowly
*Please note, this post contains affiliate links.* We earn a small commission if you make a purchase through these links.